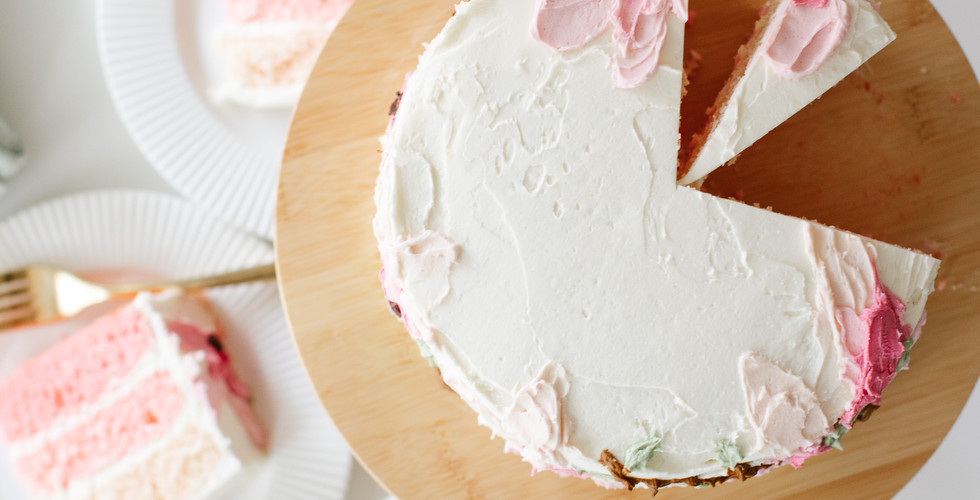
It's the highlight of our Spring season--watching the Magnolia tree blossom! We drink our morning coffee on the front porch, whenever it's warm enough, just to take it in. She bounced back after the snowfall last week and she's lasted quite long this season. To celebrate, Carolee made the prettiest layered cake and the recipe is below.

Spring Pink Ombre Layer Cake
2 1/ 2 cups self-raising flour
1 cup white sugar
200 grams unsalted room temperature (soft) butter
4 eggs
4 tbsp milk
2 tsp vanilla extract
Red gel food colouring
Butter icing
1 cup unsalted butter room temperature (soft)
1/ 4 cup cream cheese room temperature (soft)
3 + cups icing sugar
3 tbsp cream
2 tsp almond extract
Optional: various colours food colouring
Cake:
Preheat oven to 325deg F. Butter and flour 3, 8” cake pans. Set aside.
Place all ingredients in a mixing bowl and beat on medium speed with an electric mixer until pale and smooth.
Divide batter into 3 equal quantities into separate bowls (weigh each bowl on a kitchen scale for help balancing the batter quantity). Using a toothpick, dip it into the gel food colouring and paste into one of the batter bowls. Stir until a very pale pink is achieved. Repeat as necessary with an increasing amount of gel colouring until you have a second bowl that is slightly but noticeably darker than the first and the third bowl is darker/brighter pink than the second bowl. Use your own creative license here to achieve the shades of pink desired. Use food colouring sparingly to start however as the colours can be quite intense and a little goes a long way.
Scrape batter into the 3 baking pans and bake for 18-20 minutes on center rack. Checking with a toothpick in the center, when it comes out clean, the cake is done. Set on cooling racks until completely cooled.
Cake recipe adapted from Donna Hay, “The New Classics”. 2013 from Donna Hay magazine
Icing:
Beat butter with an electric mixer in a large bowl until pale and fluffy. Add icing sugar 1/ 2 cup at a time until 2 cups in and then add the cream 1 tbsp at a time until fully incorporated. Add almond extract. Add remaining 1 cup icing sugar. Icing should be creamy but not too loose. Add more icing sugar if needed. Stop here and begin frosting cake as a completely white frosted cake.
To achieve flower painted cake remove 2-3 tbsps of frosting and put into little bowls for other colours if desired. I used magnolia blooms as inspiration so I had 3 different shades of pink, a green for the leaves/husks and brown for the branches.

Assembly:
Fill a pastry piping bag with frosting either with a 1” cut opening or a large round tip inserted.
On the center of your cake plat or stand but a tbsp of frosting to secure the first layer of cake. I put the darkest layer on the bottom first and then layered lighter upwards. You arrange the way you want!
Add a layer of frosting and repeat with other layers. Pipe stripes of frosting around the outside starting from the bottom up and in a circular motion across the top starting in the center and spiraling out. Smooth with a dough scraper or an off-set spatula knife. At this stage you can leave the cake as is and eat immediately! If you want to add the painted on flowers, refrigerate for at least 30 minutes until the outer layer of frosting has firmed up. It is much easier to add the coloured frosting on a chilled, firmed up base layer.
I used a few small butter knives and offset spatulas to apply the different colours of painted on frosting. To achieve the blossom centers I stuck my finger in a jar of freeze dried raspberries and pushed it onto the frosting to stick and then used a few pieces of dark chocolate bits as well. Feel free to use any kind of dragee, sprinkles or non-pareil to embellish your design. Use your imagination. There is no right or wrong way :)